How to Open Any File in Javascript with Progressbar
To open a file in JavaScript, we need to use a file input, which will render a button from where we can choose files to upload:
<input type="file" id="file" />

<!-- In case you want to allow multiple files to be opened -->
<input type="file" id="file" multiple />

<!-- In case you want to restrict the extension -->
<input type="file" id="file" multiple accept=".jpg, .jpeg, .png" />Make sure you add an id attribute so we can reference this field later in JavaScript to read the contents of the file that we want to open.
Note that you can define additional attributes on the file input for opening multiple files at once, or restricting extensions by the multiple and accept attributes respectively.
This will render the open file dialog accordingly. Meaning if you don't define the multiple attribute, you won't be able to select multiple files. Likewise, if you define a list of extensions using accept, then only those files will be visible in the open file dialog.
How to Read the Contents of a File
To read the contents of the opened file in JavaScript, we need to grab the file input and add a change event listener to it:
const fileSelector = document.getElementById('file')

fileSelector.addEventListener('change', event => {
    const files = event.target.files

    console.log(files)
})Inside the callback of the change event, we can read the file(s) by referencing event.target.files. This is a FileList object which contains the selected list of files (like an array of objects). Since we can reference multiple files, this will be a list, even if we only select one file. Hence if we need to read the first file, we still need to grab it by the first index (files[0]).
Logging the file to the console gives us some metadata about the file. The following properties are exposed for each file:
{
    lastModified: 1653390333008
    lastModifiedDate: Tue May 24 2022 13:05:33 GMT+0200 (Central European Summer Time) {}
    name: "file.png"
    size: 132963
    type: "image/png"
    webkitRelativePath: ""
}However, this does not give us the contents of the file. In order to read the file after opening it in JavaScript, we need to use the FileReader API. Inside the callback of the change event, create a new FileReader to read the file:
const reader = new FileReader()

reader.addEventListener('load', event => console.log(event.target.result))

// Files can be read with the readAs[ArrayBuffer|BinaryString|DataURL|Text] methods
reader.readAsArrayBuffer(files[0])
reader.readAsBinaryString(files[0])
reader.readAsDataURL(files[0])
reader.readAsText(files[0])
We need to add a load event listener for the file reader to know when the file has been read. We can reference the result using event.target.result. This will contain the contents of the file.
Make sure you add event listeners prior to reading the file.
As you can see, we have multiple ways to read files in JavaScript. Based on which one you choose, you will get different results. We can read files as:
readAsArrayBuffer: the result will contain anArrayBufferrepresenting the file's datareadAsBinaryString: the result will contain the raw binary data from the file as a stringreadAsDataURL: the result will contain adata:URL representing the file's datareadAsText: the result will contain the contents of the file as a text string
So for example, if you are dealing with text files, you will want to use readAsText. If you are dealing with an image, you will likely want to use readAsDataURL. If you are dealing with other types of binary files, you may want to use readAsBinaryString.
If you use readAsDataURL and try to select an image, you should now get the following logged to the console:
data:image/png;base64,...
Which you can then use in various different ways (using an img tag, using CSS, using canvas) to display the image.
Show Progress of File Reading
To show the progress of reading a file, we need yet another event listener attached to the reader. This time, we need to use the progress event:
reader.addEventListener('progress', event => {
    console.log(event)
})
If you log the event from the callback to the console, this will return a ProgressEvent object that contains the total file size and the size that is currently loaded into memory. We can use these two numbers to get a percentage of how much of the file has been loaded. To do this, we can use the following equation:
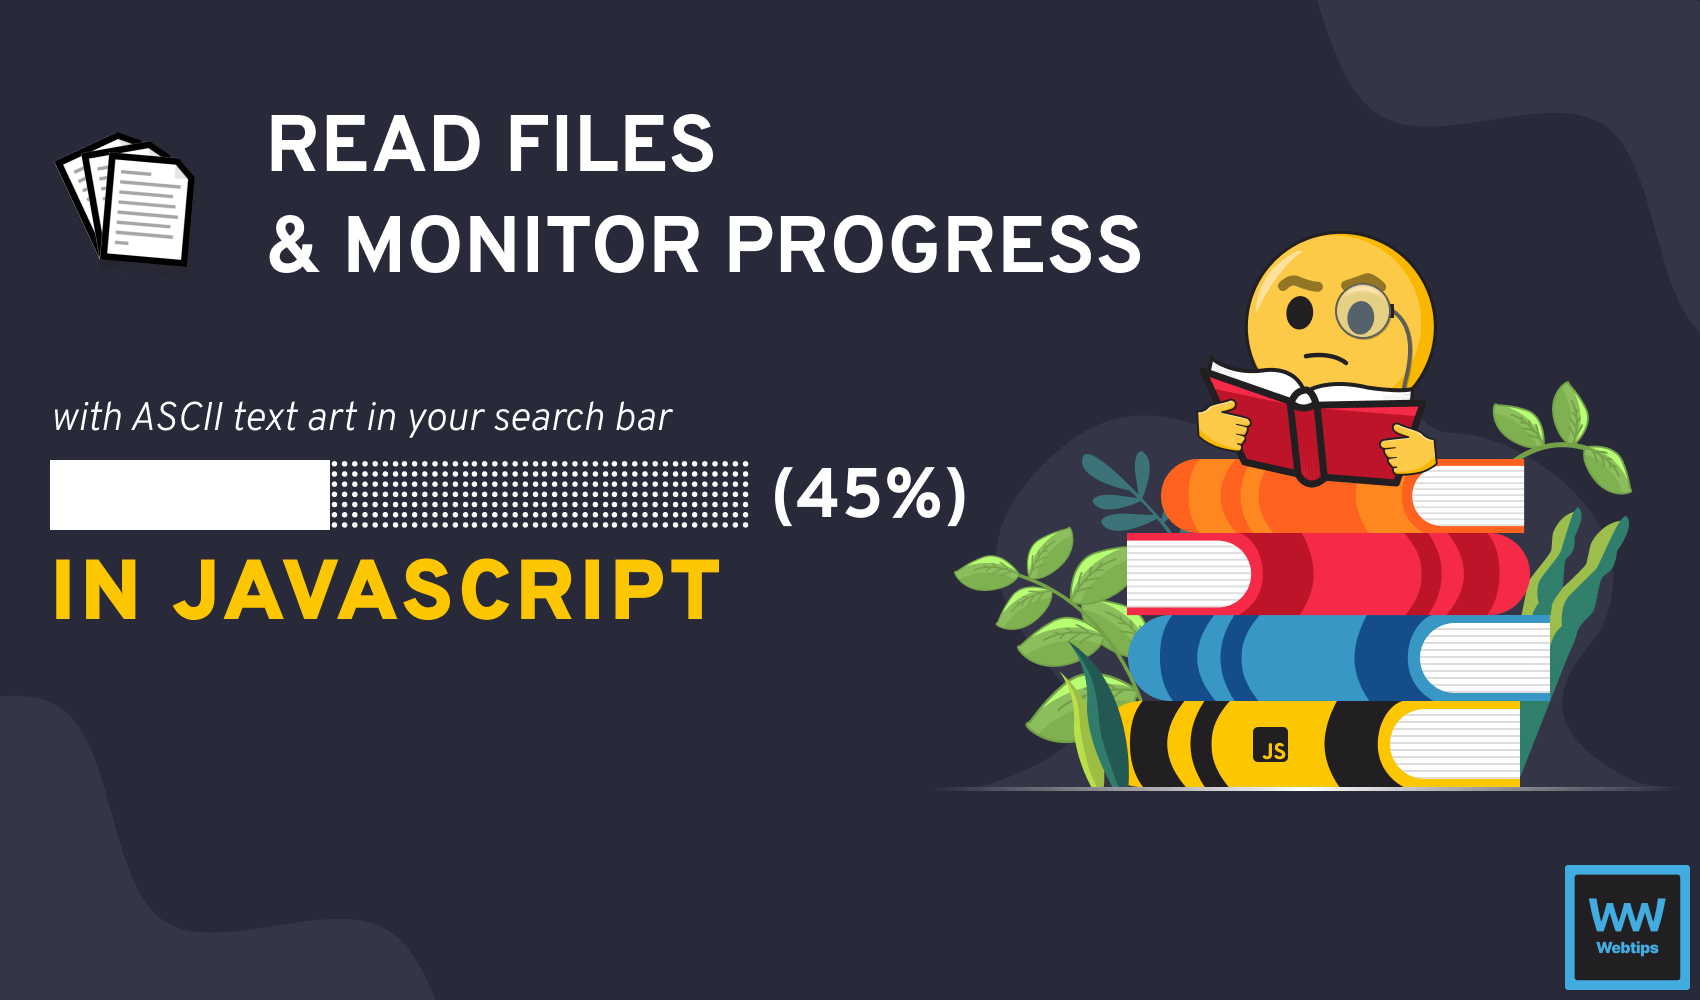
percent = Math.round((event.loaded / event.total) * 100)So now we know how much of the file has been loaded, in percentage. To add a loading bar too, we are going to use two different ASCII characters, one for the loading background (▒), and one for the loaded (█).
We want to display 10 of these bars, and based on the loading percentage, we want to replace the background with the loaded character. So we will have the following:
0%  -> '▒▒▒▒▒▒▒▒▒▒' // 10x▒
10% -> '█▒▒▒▒▒▒▒▒▒'
20% -> '██▒▒▒▒▒▒▒▒'
// And so on
We can achieve this, by first creating an array with 10 elements, each containing the background. Then we want to use the loaded percentage to replace some of the elements inside the array. So if the percent is greater than 10, we want to replace the first element. If it's greater than 20, we want to replace the first two elements, and so on. And to finally get a single string, we can join the array together using join. This leaves us with the following:
const loadingBar = Array(10) // Create an empty array with 10 elements
    .fill('▒') // Fill all the elements with the background
    .map((item, index) => Math.round(percent / 10) > index ? '█' : '▒') // Replace the background
    .join('') // Create a string from the array
To break it down, let's see what is happening step by step, and what will be the value of the array, based on the percentage of loaded content:
// First we start off with an array of 10 elements:
['▒', '▒', '▒', '▒', '▒', '▒', '▒', '▒', '▒', '▒']

// If progress reaches 10%, we get the following:
['█', '▒', '▒', '▒', '▒', '▒', '▒', '▒', '▒', '▒']

// If progress reaches 20%, we get the following:
['█', '█', '▒', '▒', '▒', '▒', '▒', '▒', '▒', '▒']

// Everything is connected together into a single string:
'██▒▒▒▒▒▒▒▒'
The very last thing is to add this to the search bar of the browser, which we can do so by assigning this to location.hash:
document.location.hash = `${loadingBar}(${percent}%)`If you now open a large file and try to read it, you should get a progress bar displayed in your search bar showing the loading progress of the reading.

progress event updates the loading every time progress is madeThe entire code fits into 20 lines of code. If you would like to grab it in one piece, you can do so below. Thank you for reading through, happy coding!
const fileSelector = document.getElementById('file')

fileSelector.addEventListener('change', event => {
    const files = event.target.files
    const reader = new FileReader()

    reader.addEventListener('progress', event => {
        const percent = Math.round((event.loaded / event.total) * 100)
        const loadingBar = Array(10)
            .fill('▒')
            .map((item, index) => Math.round(percent / 10) > index ? '█' : '▒')
            .join('')

        document.location.hash = `${loadingBar}(${percent}%)`
    })

    reader.addEventListener('load', event => console.log(event.target.result))

    reader.readAsBinaryString(files[0])
})
Rocket Launch Your Career
Speed up your learning progress with our mentorship program. Join as a mentee to unlock the full potential of Webtips and get a personalized learning experience by experts to master the following frontend technologies:


